
August 13, 2026 · 8 min read
Free Image Compressor: Reduce File Size Without Losing Quality (2026)
Why image size matters for page speed and upload limits, how lossy and lossless compression differ, and a step-by-step walkthrough of compressing JPG and PNG files in your browser.
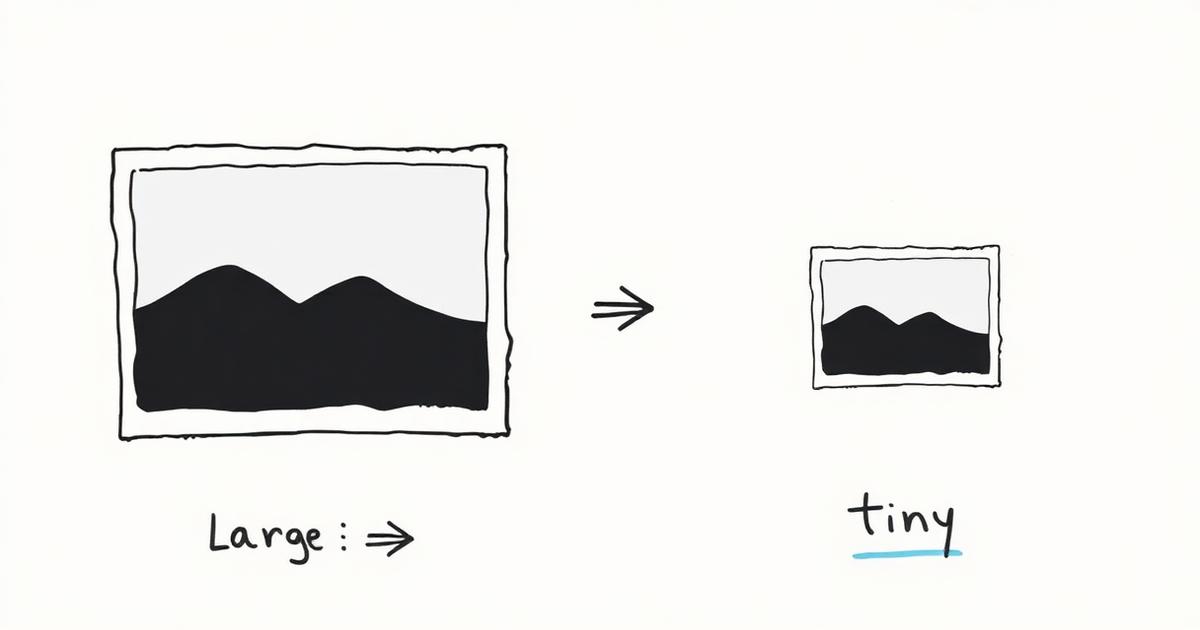
Images are usually the heaviest thing on a web page and the most common reason an upload gets rejected. A single photo straight out of a phone camera can be four or five megabytes — far more detail than a 1200-pixel-wide blog header, a marketplace listing or a form attachment will ever show. Compressing it throws away the part nobody sees. This guide explains how that works and how to do it with our Compress Image tool.
Why image compression matters
Page speed
Every kilobyte in an image is a kilobyte the visitor's connection has to pull down before the page looks finished. On a slow mobile connection the difference between a 3 MB hero image and a 200 KB one is the difference between an instant page and a blank rectangle. Because the largest image is often the element that decides a page's Largest Contentful Paint, compressing it is usually the single highest-leverage speed fix available — and page speed feeds into both search ranking signals and how many visitors stay.
Upload and attachment limits
Job portals, government forms, marketplace listings, school submission systems and email attachments all enforce hard size caps — commonly somewhere between 100 KB and 5 MB. When a form refuses your photo, you rarely need a different photo; you need the same photo at fewer bytes.
Storage and bandwidth
Multiply a few megabytes by a few thousand product photos and compression stops being cosmetic. Smaller files mean less cloud storage, less CDN egress, faster backups and faster syncing to phones and laptops.
Lossy vs lossless, in plain terms
There are two fundamentally different ways to make an image file smaller, and the labels describe what happens to the pixel data.
| Lossless | Lossy | |
|---|---|---|
| What it does | Stores the exact same pixels more efficiently | Discards detail the eye is least likely to notice, then stores what remains |
| Pixels after decoding | Identical to the original | Approximate — close, but not bit-for-bit |
| Typical saving | Modest, often 5–30% | Large, often 60–90% |
| Repeatable? | Yes — re-saving costs nothing | No — each re-save degrades the image a little further |
| Formats | PNG, WebP (lossless mode), TIFF, GIF | JPG, WebP (lossy mode), AVIF |
| Best for | Screenshots, logos, line art, flat colour, anything needing transparency | Photographs and any image with smooth gradients and natural texture |
"Without losing quality" is really shorthand for without losing quality you can see. Lossy compression at a sensible quality setting is visually indistinguishable from the original at normal viewing size — you would need to zoom in on a flat sky or a sharp text edge to find the difference. The failure mode to avoid is over-compression: blocky squares around edges, banding in gradients, and mushy fine detail.
Practical rules of thumb
- Photos → lossy. A JPG or WebP at moderate quality will be a fraction of the size with no visible change.
- Screenshots, logos, diagrams → lossless. Lossy compression puts visible fringing around crisp edges and text. Keep them as PNG.
- Resize before you compress. If the image is displayed at 800 pixels wide, a 4000-pixel-wide source is 25× more pixels than needed. Downscaling is the biggest saving available, and it is lossless in the visual sense at the size you actually display.
- Always compress from the original. Compressing an already-compressed JPG stacks the artefacts. Go back to the highest-quality copy you have.
- Never overwrite your master. Keep the untouched original; the compressed copy is an output, not an archive.
How to compress an image with EasyFileMagic
The Compress Image tool re-encodes your files inside the browser tab using a web worker. There is no upload step, no account and no queue: your photos never leave your device, which matters when the picture is an ID document, a medical scan or an unreleased product shot.
- Open the Compress Image tool and drop in one or more JPG or PNG files — or click the drop zone to browse. Anything that is not an image is ignored.
- Pick a target size: Tiny aims for about 50 KB, Balanced for about 300 KB, and High quality for about 1 MB. Balanced is the right default for web images; Tiny is for strict upload limits; High quality is for images that will be viewed large.
- Press Compress images. Each file is re-encoded in turn, with progress shown per file. Images larger than 4096 pixels on their longest side are scaled down to that limit first, which is where much of the saving comes from.
- The result downloads automatically — a single file if you added one image, or a
compressed-images.ziparchive if you added several. - Check the summary line: it reports the total size before and after plus the percentage saved, so you can tell at a glance whether to try a smaller target.
If the output looks soft or blocky, step up one preset and compress the original again — not the compressed copy. If it is still too large for a form, step down a preset, or crop and resize first so there are fewer pixels to encode at all.
Related tools
Compressing dozens of files at once? Bulk Image Compressor & Converter batches them and can convert to WebP or AVIF on the way out, which often beats JPG at the same visual quality. To change dimensions rather than bytes, use Resize Image; to change format, Image Converter; to trim away what you do not need, Crop Image. If the destination wants a document instead, Image to PDF bundles photos into one file, and Compress PDF shrinks the result.
Frequently asked questions
- Does compressing an image reduce its quality?
- Lossy compression always discards some data, but at a sensible target the change is invisible at normal viewing size. Lossless compression changes no pixels at all — it only stores them more efficiently, so the saving is smaller.
- What is the difference between lossy and lossless compression?
- Lossless compression rewrites the file so it decodes back to exactly the same pixels, typically saving 5–30%. Lossy compression removes detail the eye is unlikely to notice and can save 60–90%, but each re-save degrades the image a little further.
- How small can I make a photo?
- The Compress Image tool offers three targets: roughly 50 KB, 300 KB and 1 MB. Around 300 KB is a good balance for web use; 50 KB suits strict upload forms but may show artefacts on detailed photographs.
- Are my images uploaded to a server?
- No. Compression runs entirely in your browser using a web worker, and the finished file is written straight to your downloads. Your images are never transmitted, logged or stored.
- Can I compress several images at once?
- Yes. Add as many JPG or PNG files as you like and they are processed one after another; when there is more than one, they are bundled into a single compressed-images.zip download.
- Should I resize or compress?
- Do both, resizing first. Serving a 4000-pixel image in an 800-pixel slot wastes most of the file. The tool already scales anything above 4096 pixels on its longest side, and the Resize Image tool lets you choose exact dimensions.
- Which format should I keep, JPG or PNG?
- Keep photographs as JPG (or WebP) and keep screenshots, logos, diagrams and anything needing transparency as PNG. Saving a screenshot as JPG produces visible fringing around text and hard edges.
- Is there a file size or count limit?
- There is no server quota because there is no server. The practical limits are your device's memory and how long you are willing to wait, since every image is encoded locally.